
How to Get an Almost Perfect Score on the CKAD!?

Hi everyone, I’m Thịnh.
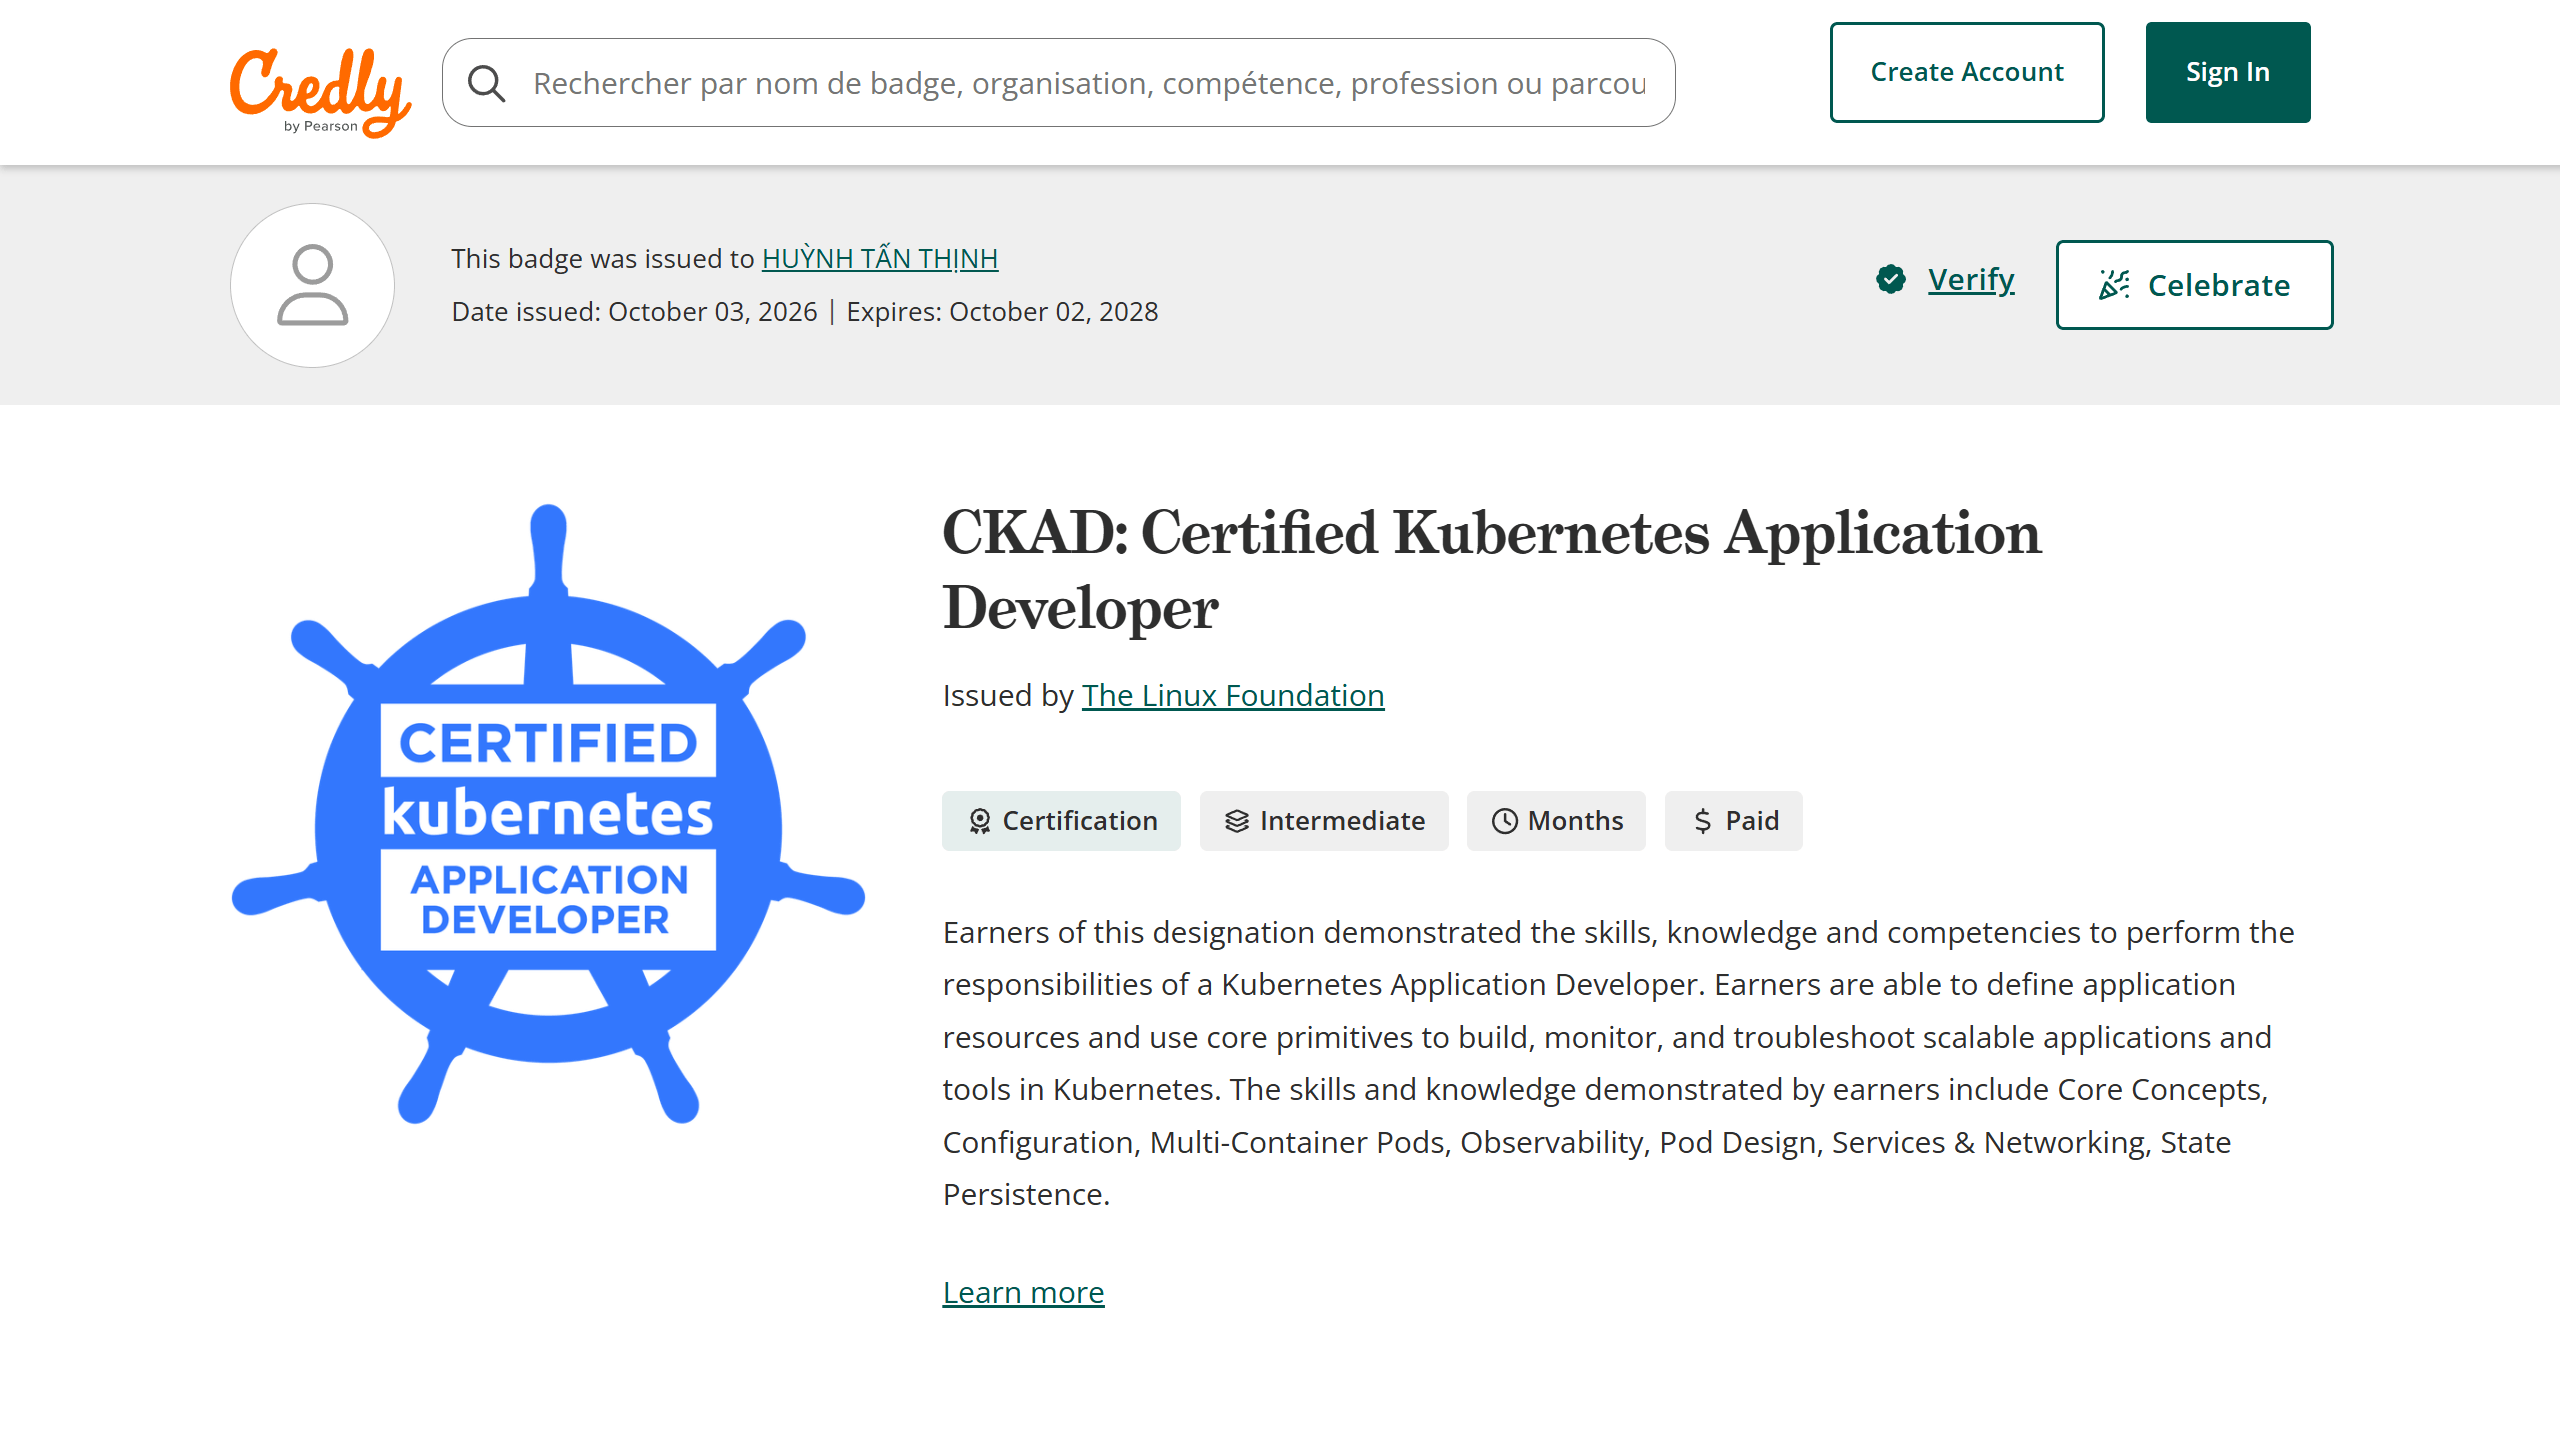
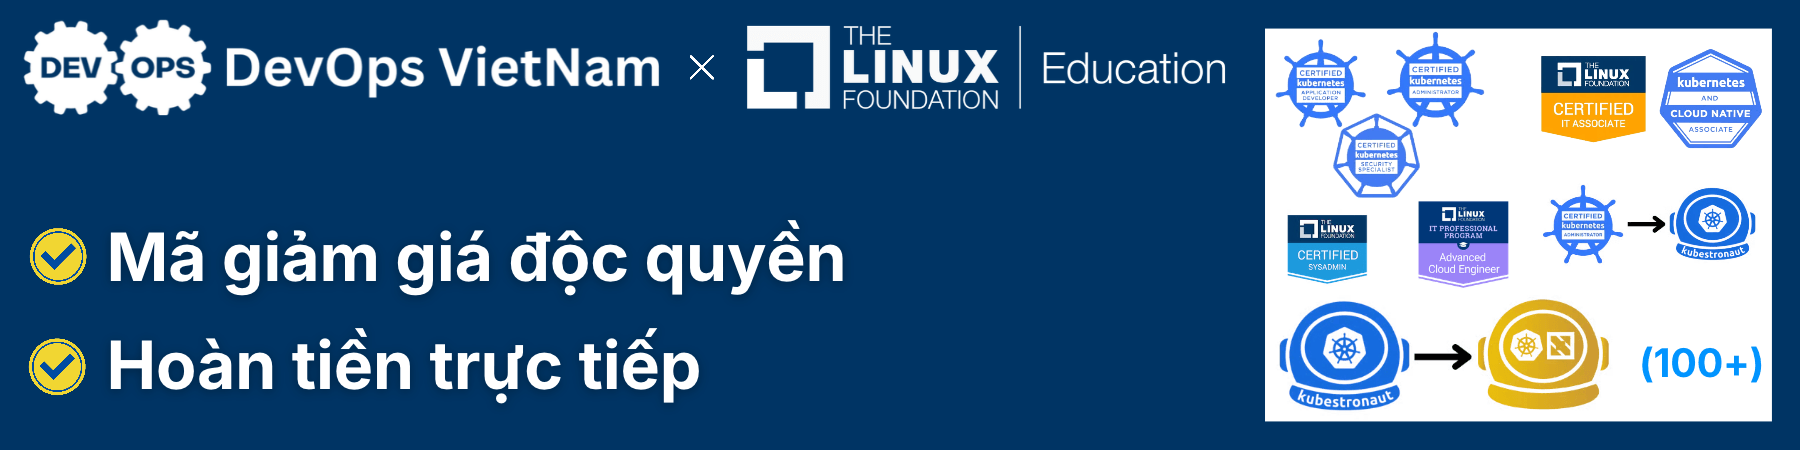
I earned the CKAD (Certified Kubernetes Application Developer) certification with a score of 99%. I wrote this article to share my entire experience, from studying and practicing with mock exams to taking the actual exam.
Hope this can be useful to everyone!
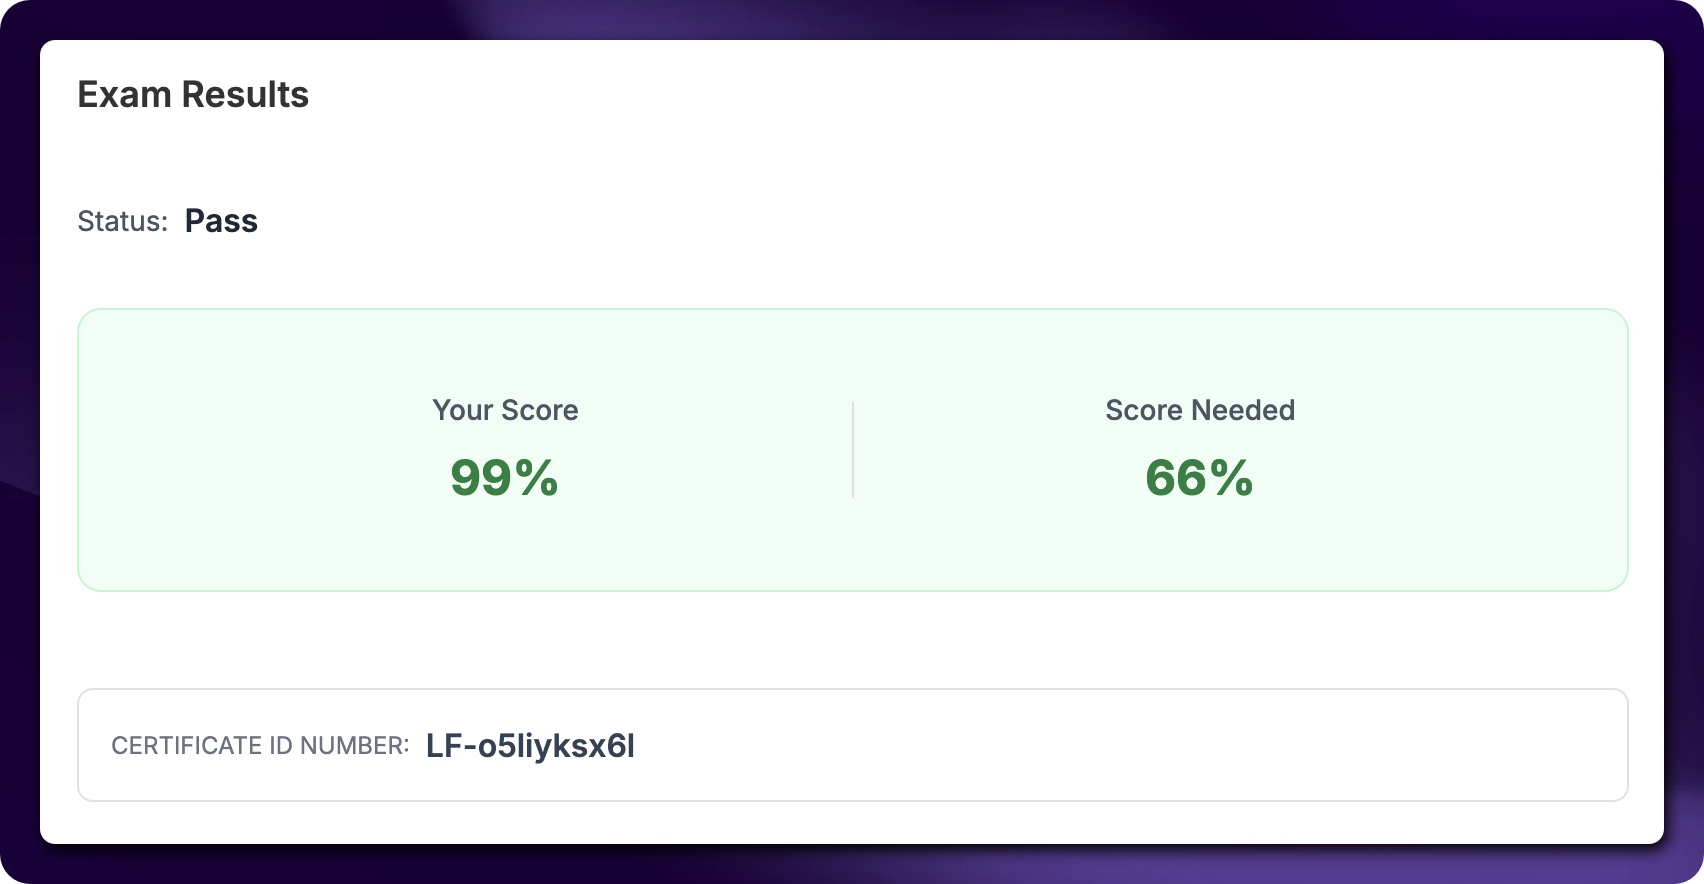
First of all, I’d like to thank DevOps VietNam for creating a program that helps engineers in our community gain access to leading learning platforms and certifications. I was fortunate enough to participate in the DevOps VietNam x Linux Foundation Education: Đặc quyền kép program, which helped me save nearly 50% on the cost.
You can check it out and follow the instructions there to optimize your costs as well!
A Little About Myself
I’m currently a Software Engineer and have been working with Kubernetes for 5 years.
In my free time, I often install MicroK8s or K3s and figure out how to deploy my web apps and expose them to the internet on my Intel NUC and Rapsberry Pi 5. That has given me plenty of extra lessons from real world “stumbles” outside of courses.
If you want to go further with Kubernetes, I think you should also learn how to set up a cluster from scratch. Get your hands dirty with it. You’ll learn faster and understand things much more deeply.
But now I’m lazy =]]]]]]
1. Studying and Practicing for the Exam
1.1. How Did I Study?
I took the Kubernetes Certified Application Developer (CKAD) with Tests course by Mumshad Mannambeth on Udemy.
Why did I choose this course?
- My first reason was pretty simple: the course was one of the top recommendations =]]]]
- Second, I wandered around Reddit and saw quite a few people recommending it there too!
A quick review of the course
- The course covers everything you need and probably even more than you need =]]]], giving you all the knowledge required to do well on the CKAD exam. You can visit the link above to check out the course curriculum.
- Besides the theory, the course also gives you 2 mock exams and guidance on how to manage your time during the actual exam.
1.2. Where Did I Practice?
1.2.1. KodeKloud
This is the platform you’ll interact with the most while taking the course above. You can use it to study and take the mock exams included with the course.
Link: Certified Kubernetes Application Developer – Full Mock Exam Series
1.2.2. Killer Shell – killer.sh
Once you register for the certification exam, you’ll get access to 2 mock exams from Killer Shell that you can use for practice.
The environment here is very close to the actual exam, so it’s a good place to get familiar with what the real experience feels like. Keep in mind that each mock exam is only accessible for 36 hours. You can practice as many times as you want during that period, but once you start it, you won’t be able to access it anymore after those 36 hours.
Link: https://killer.sh/
1.2.3. Others (Free Resources)
After playing around with the resources above, I still didn’t feel confident enough to schedule my exam. There were only a few sets of questions, and I felt like I didn’t have enough material to practice with.
So I went searching on GitHub and looked through Reddit for recommendations.
Eventually, I found 2 resources that I thought were absolutely awesome:
- CK-X by Sailor Shell (sailor.sh): https://github.com/sailor-sh/CK-X. This repo collects mock exams for Kubernetes related certifications, including CKA, CKAD, and CKS. No wonder they called it CK-X =]]]]]
The exam interface is quite similar to the real one, and another big plus is that everything is set up with Docker. That means you can simply install it and run it locally on your own machine for practice. Unfortunately, there are still only 2 mock exams =]]]]] (At least that’s 2 more sets to practice with =]]]]])
One downside I noticed is that you only SSH into a single server. In the actual exam, almost every question has its own server that you need to SSH into before solving it. So if you get too used to this setup, you might forget to exit the current server and SSH into the next one when moving between questions.
- CKAD-DOJO by TiPunchLabs: https://github.com/TiPunchLabs/ckad-dojo. Seriously, when I found this repo, I was like, thank God, this is exactly what I needed!!!!
It doesn’t have a fancy exam interface, but in return, you get 20 CKAD practice sets. Just clone it and you can practice as much as you want!
After finding those 2 great repositories, I had the idea of forking them and combining their strengths while addressing some of their limitations. So I forked them, asked Claude to help update things, and cooked up my own repo =]]]]]]
You can find it here: https://github.com/htthinh1999/CK-X
Right now, it basically combines the 2 repositories above so CKAD has more practice sets, an interface that feels closer to the real exam, and 3 separate servers. After finishing each question, you have to exit and SSH into a new server.
Feel free to clone my repo and give it a try!
> If you find it useful, remember to star the original CK-X and CKAD-DOJO repositories to support their teams! You don’t need to star mine, seriously. I just forked their work anyway ._.
2. Exam Preparation & the Actual Exam
2.1. Preparing for the Exam
2.1.1. Check Your Machine Configuration
At first, I was practicing on my MacBook. But after registering for the certification exam and running the hardware and software checks, I found out that MacOS 27 wasn’t supported yet .-. (Of course I had to update it immediately when it had just come out =]]]]])
So I pulled out my old Windows machine, ran the checks there, and used that to register for the exam. That’s another lesson for everyone: read the requirements carefully and make sure your machine meets all of them before exam day!
Here’s the link to run the system check: https://syscheck.bridge.psiexams.com/
2.1.2. Providing Your Information
Before the exam, you need to provide your name and upload an image of your citizen ID card or passport to the platform.
This allows the exam platform to update your information and verify that the photo on your identification matches your face during the exam. (Probably to stop someone else from taking the exam for you .-.)
2.1.3. Try the PSI Remote Testing Tutorial Beforehand
After registering for the certification exam, you’ll find the PSI Remote Testing Tutorial under the “Prepare for the Exam” section. This lets you experience a simulation of the exam environment before taking the real thing.
Note that you can only access it up to 3 times, and only until 2.5 hours before your scheduled exam. You’ll get familiar with the environment and learn about the checking process, such as taking a portrait photo, what items are allowed on your desk, and checks of your hands, wrists, and ears. (I bolded the word “learn” here. You won’t actually go through all those checks in the simulated environment. That only happens during the real exam =]]]]]])
Once you’re done checking everything, remember to uninstall it so you can install the actual exam environment on exam day.
2.2. The Exam Process
You can start up to 30 minutes early. The reason is that checking your room can take some time, so they allow you to join early. If you’re more than 30 minutes late compared to your scheduled exam time, you’ll be considered absent.
Just like in the tutorial, everything will be checked: all 4 corners of your room, above and below your desk, and there must not be any papers or pens around you. They’ll also perform the hand and ear checks mentioned earlier.
Oh, and if you wear glasses, you’ll need to take them off so they can inspect them too!
There’s a QR code on the screen, and you’re allowed to use your phone to scan it and use your phone camera for the room check instead of picking up your laptop and spinning it around everywhere =]]]]]]
All communication with the proctor happens through chat. Once the checks are complete, you’ll be allowed into the exam environment.
At this point, you’ll get an introduction to the environment, what the buttons do, what you need to pay attention to during the exam, and how to contact the proctor through “Live chat” once you’re finished. In reality, you just need to click things in the right order: “End exam” first, then “End session.”
2.2.1. Preparing the Environment
In the exam environment, I opened a VSCode window and prepared some variables and aliases in advance to speed things up while solving the questions. Below is the setup I used. You can customize it or check out setups from other people as well.
alias kns='kubectl config set-context --current --namespace'
alias kgp='kubectl get po'
alias kgd='kubectl get deploy'
alias kgs='kubectl get svc'
alias kd='kubectl describe'
alias kl='kubectl logs'

do='--dry-run=client -oyaml'
export KUBE_EDITOR=nano
For every question, after SSHing into the server, I opened ~/.profile, pasted this block in, and ran the following command to load the variables and aliases:
source ~/.profileWhat are these commands for?
-
I can use the following alias to switch the namespace to tiger:
kns tigerinstead of typing the full command below, which is easier to mistype:
kubectl config set-context --current --namespace tiger -
List pods, deployments, and services:
  kgp
  kgd
  kgs
instead of:
kubectl get po kubectl get deploy kubectl get svc -
Describe pods, deployments, and services:
  kd po pod-0
  kd deploy deploy-0
  kd svc service-0
instead of:
kubectl describe po pod-0 kubectl describe deploy deploy-0 kubectl describe svc service-0 -
Same thing for logs:
  kl pod-0
  kl deploy/deploy-0
instead of:
kubectl logs pod-0 kubectl logs deploy/deploy-0 -
I use the do variable to run commands in dry-run mode, meaning nothing is actually created on the server, while outputting YAML. That allows me to quickly generate YAML files for a pod, deployment, job, or cronjob.
k run pod-0 --image=busybox $do -- sleep 3600 > pod-0.yaml k create deployment deploy-0 --image=nginx $do > deploy-0.yaml k create job job-0 --image=busybox $do -- echo 'Hello Kubernetes!' > job-0.yaml k create cronjob cronjob-0 --schedule='*/30 * * * *' --image=busybox $do -- date > cronjob-0.yaml -
I override the KUBE_EDITOR variable to use nano because I’m used to nano and don’t know how to use vim. Please forgive me! Ehe =]]]]]]
Once everything was ready, it was time to start the exam.
2.2.2. A Few Problems I Ran Into During the Exam
Building a Docker image
I got what should have been one of the easiest questions to score points on, but somehow ran into trouble during the exam. The task was simply to build a Docker image with a specified image name and tag, then save that Docker image as a tar file.
Yep, literally one of the easiest questions to get points from! The moment I read it, the commands were already in my head =]]]]]]]. I was sure these 2 commands would solve it:
docker build -t IMAGE:TAG .
docker save -o IMAGE-TAG.tar IMAGE:TAG
But I did not expect the very first command to immediately throw a bunch of errors related to some overlay volume issue. I genuinely couldn’t believe what I was seeing =]]]]]]]]
So I checked everything again:
- Am I in the correct folder?
- Am I pointing to the correct Dockerfile?
- Did I mistype the
docker buildcommand?
After checking for a while, I was pretty convinced that the Docker setup on the target server was the actual problem. Luckily, when I first started studying, I had learned some Podman commands as well. They’re basically the same as Docker commands anyway. You pretty much just replace the word docker with podman.
So I switched to the Podman CLI, and somehow everything worked normally .-.
podman build -t IMAGE:TAG .
podman save -o IMAGE-TAG.tar IMAGE:TAG
So keep this one in your back pocket too, just in case you run into the same situation I did .-.
Seriously, it was pure chaos =]]]]]]]
Deployment Wouldn’t Roll Out
Yep, the task was to update a deployment to a newer image version and adjust max surge & max unavailable. I went ahead, ran edit, and changed the values.
k edit deploy deploy-0And then… nothing happened. The pod just sat there. There was nothing unusual in describe deployment. I checked whether a LimitRange was blocking it, but there wasn’t one. Checked Quota too, and there was nothing there either.
After checking the rollout status, I saw that it was paused. That was the reason the deployment wasn’t rolling out.
So I resumed it, and everything started working normally:
k rollout resume deploy/deploy-0Editing and Applying a YAML File to the Specified Namespace
The task was very simple. It asked me to update a deployment YAML file that was already saved on the server, then set it up in the specified namespace.
After spending quite a while editing the YAML file, I checked it again and noticed that the namespace in the file was set to default instead of the namespace specified in the question.
Luckily, I caught that detail. So when applying YAML files, make sure you check that the resource is actually being created in the namespace specified by the question!
2.3. Advice
-
Based on the latest CKAD exam format, there are around 15 to 20 questions. Mine had 17. If you calculate the average time across the 2 hour exam, think about how many minutes you can afford to spend on each question. I gave myself 7 minutes per question. Of course, some questions take less than a minute to solve. But if you’ve already spent too long on one question, use the flag feature to mark it and come back after finishing everything else.
> My goal is to finish the exam with as many points as possible, not to solve the hardest question. Remember that! ^^
-
Each question tells you to SSH into a specific server and work in a specific namespace. Make sure you solve the question on the correct target server and in the correct namespace. If you get either one wrong, you can consider the points for that question gone.
I remember 2 questions that didn’t specify a namespace. One was the Docker image build question. The other involved creating a CronJob and then creating a Job from that CronJob. Since the questions didn’t mention any namespace, I used the default namespace.
-
Make as much use of imperative commands and the do variable for dry-run as possible instead of writing YAML files from scratch.
-
Read every question carefully and completely. If possible, read it twice. You don’t want to delete a deployment and only then notice the note saying you’re not allowed to delete it!
-
Practice with mock exams, understand where you went wrong, then practice again.
3. Conclusion
That’s everything I learned and wanted to share from my experience studying, practicing with mock exams, and taking the actual exam. Thank you so much to everyone who made it all the way to the end! If there’s anything incorrect, I’d really appreciate your feedback so we can improve the article and help the community grow.
And finally,